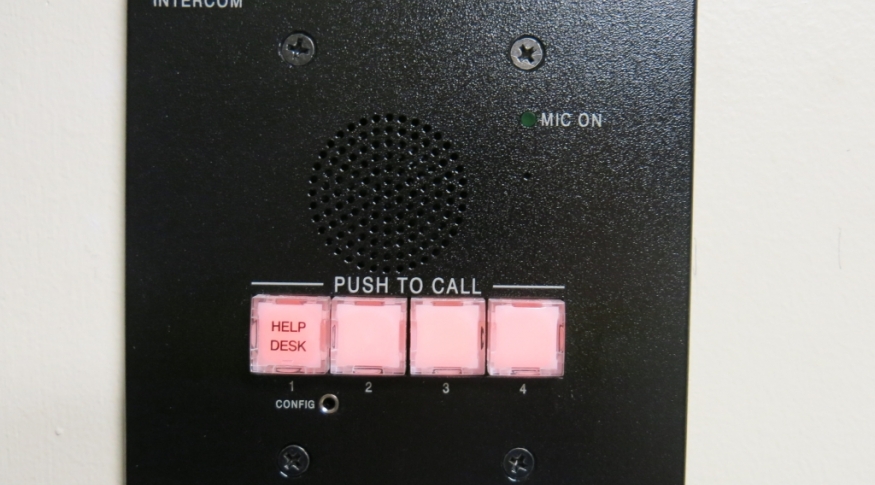
Need assistance? Call 603-862-4242
Horton B10A
This room is NOT under the control of the University Registrar's Office and is NOT available for reservation at this time.
This room is equipped with an AV system capable of presenting from a laptop or portable device, or installed media equipment. Content from any source can be presented onto the main screen, or shared to room B05.
Communications Lab rooms B10, B10A, and B05 have a common system usage and troubleshooting PDF file for reference:
Click to view AV System Training Document
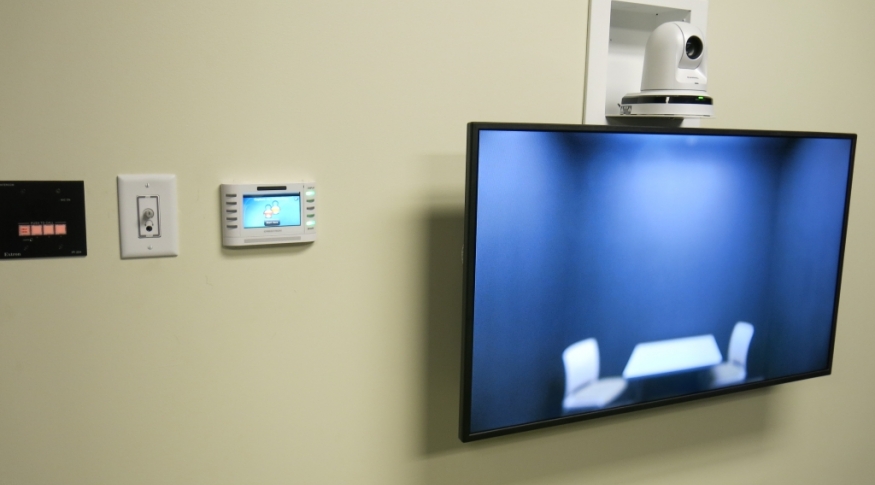
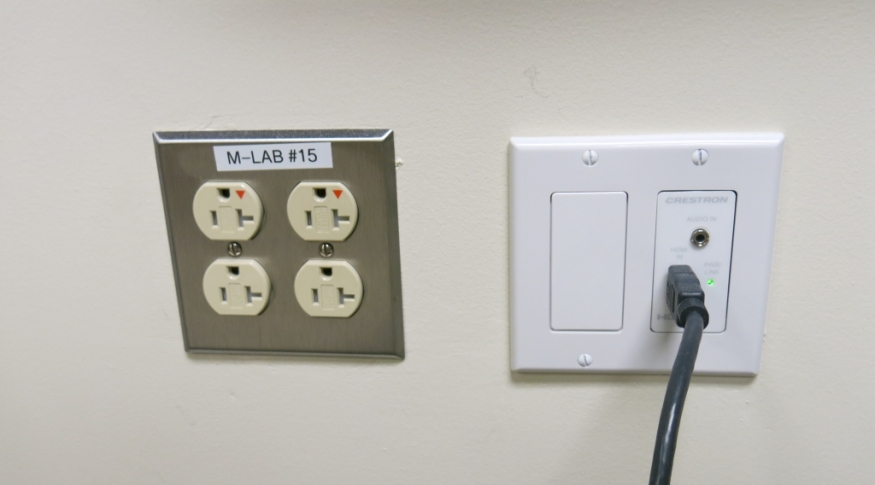
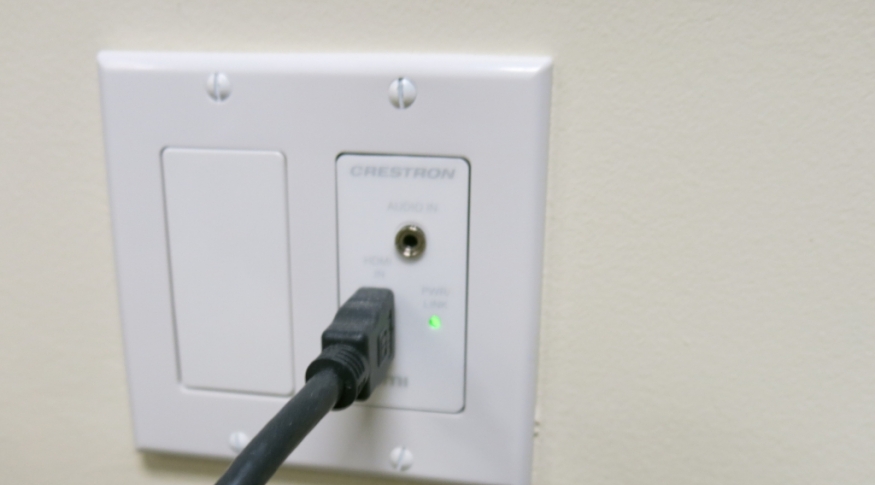
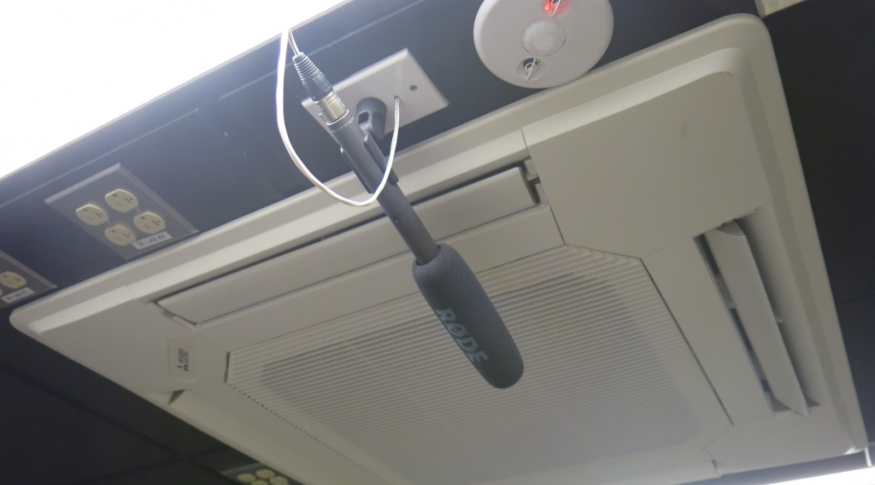
This room contains a 40” LCD confidence monitor, HDMI connection, AV touch panel, HD camera and ceiling microphone.
The confidence monitor allows you to monitor your presence during and when preparing for a recording. Camera pan/tilt/zoom is controlled by the camera remote control. Microphone recording levels are controlled by the touch panel when starting a recording.
Content generated from the system in this room can be shared to rooms B10 and B05, as well as stored to a removable USB drive.
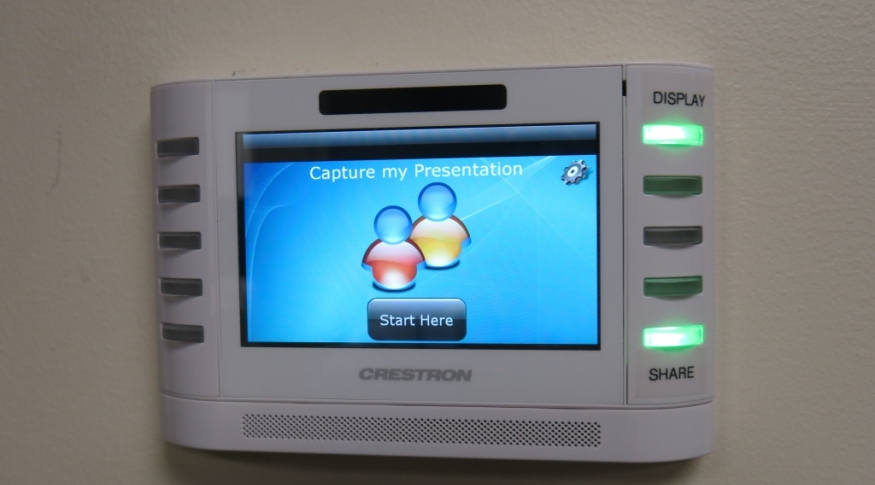
Press the Display button on the AV touch panel to turn on the monitor if it is off.
Use the HDMI connection to display computer content in your recording. Different content recording options are available including Camera/HDMI side-by-side, Picture-in-picture, and more. These are adjusted using the AV touch panel when starting a recording.
Select the Share button on the AV touch panel. Green button color means Sharing is enabled. Sharing will enable the sending of all camera and microphone content to rooms B01 or B01A.
To display this content in rooms B01 or B01A, select the new B01A Studio room source on the AV touch panel in those rooms.
Select the Share button again to disable content sharing. Red button color means Sharing is disabled.
Using the Power button on the AV touch panel to shutdown the confidence monitor will also disable all sharing to rooms B01 or B01A.
To record media content to your USB drive, connect the USB Thumb Drive or External Hard Drive to the port marked “USB” on the Crestron CAPTURE HD-PRO device, located in the AV equipment rack in room B01. Your drive must be 8GB capacity or larger, and formatted as FAT/32.
On the touch panel, press the Start Here button. The next page shows the recording volume adjustment settings. This is where all volume adjustments for the recording are made. The settings for volume are 0 - Lowest, 1 - Middle, 2 - Highest. After adjusting the recording audio level, press the Start Recording button.
To end the recording, select Stop Recording. The system will display a message about finalize the recording. When the message goes away it is safe to remove your USB media. All recordings are exported in the .mp4 video format.
For more detailed information, read our AV System Training Document linked above.
| HDMI |
 |
For laptop tips and troubleshooting:
Click here to view our Laptop Troubleshooting Knowledge Base Article
Need assistance or want to schedule a one-on-one AV training session?
Call the AV Services Hotline at Ext. 2467 (603-862-2467) at any time.
Room Specifications
Communications Dept. Media Studio
Capacity: 4Equipment List
Ceiling Mounted Microphones
HDMI Connection
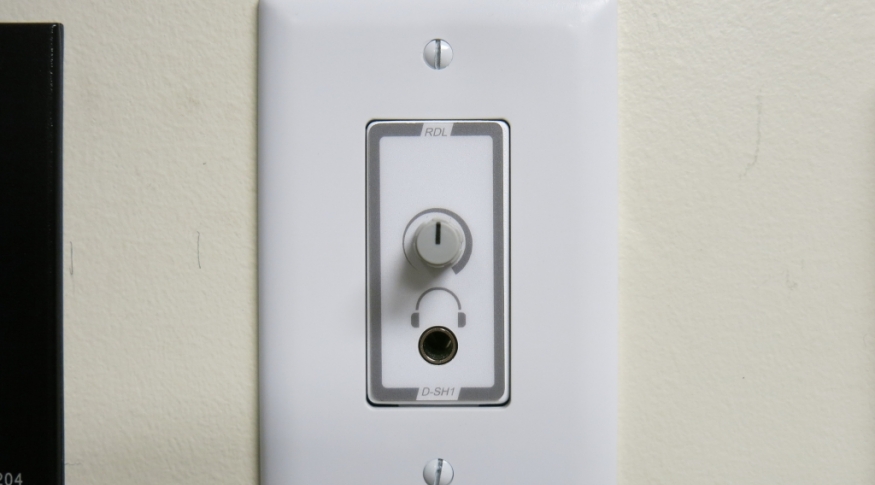
Sound System
Touch Panel Control System
Touch Panel Lighting Controls
Video Conference Camera
Wall Mounted Flat Panel Monitor